
Eleven Point Pre-Ride Maintenance Checks
Pre-ride maintenance checks can make all the difference between a successful ride and a ride that ends prematurely. Even if you regularly maintain your bicycle, giving it the quick ‘once over’ before you ride could save hassle out on a ride or even prevent a complete abandonment.
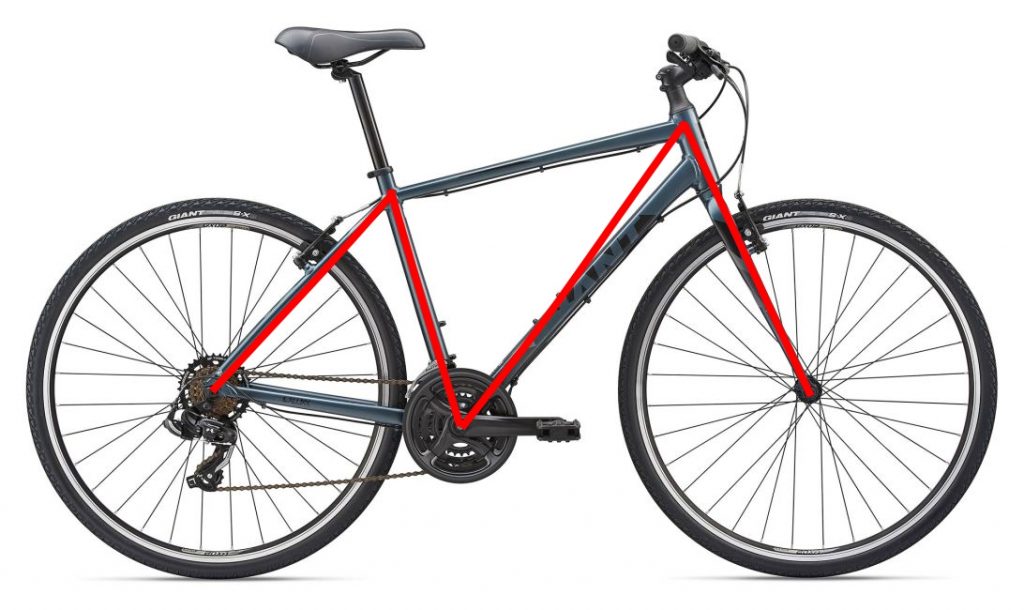
One of the most common methods for pre-ride maintenance is the ‘M’ check. So called because the position of the checks you need to do loosely forms the shape of an ‘M’.
1. Quick Releases / Through Axles – Make sure these are secure and tight before setting off. Instances of wheels falling out of frames are unusual however, loose wheels will affect the handling of your bike and potentially lead to safety problems.
2. Wheel Bearing Tightness – With the bike off the ground, grip the top of the wheel and try to rock it from side to side. Any looseness in the wheel bearings will be identified by the wheels moving and would be an indication that the bearings either need adjusting or maybe even replacing.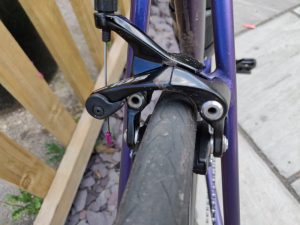
3. Brakes – Probably the most important of all the checks. Stopping your bike safely is a basic necessity of cycling. Check that the blocks / pads are all in good condition. Also, check the operation of the brakes, making sure that they both come on evenly and at the same time. Don’t forget to check the levers and blocks / pads return to their original position once braking pressure is released.
4. Tyres – Checking your tyres should become second nature before embarking on a ride, but don’t just make sure that they are inflated to the correct pressure. Also check them for signs of wear, cracking, bulges, and foreign objects embedded in them or lodged in the tread. They are your only interface to the road; look after them.
5. Bottom Bracket – Check for play in the bottom bracket by holding the crank arms in a horizontal position, then try gently rocking them from side to side. You will need to address any play quickly. As nearly all modern bottom brackets are not adjustable, a replacement is the most likely solution.
6. Pedals – While you’re checking the bottom bracket, it’s worthwhile giving the pedals (and if you have plenty of time, the chain ring bolts) a good look over to make sure everything is tight and isn’t going to cause an annoying creak or rattle.
7. Stem / Bar Bolts – Handlebars and stem bolts are another fundamental area to check before setting off, as you don’t want to be losing control due to a couple of loose bolts. A simple push / pull check should be enough to see if anything is loose. If it is, then simply tighten it up, and you should be good to go. A word of warnin,g though, many top-end bikes come with carbon handlebars. If you’re tightening carbon, then use a torque wrench and never exceed the manufacturers recommended torque.
8. Frame – The frame is a difficult thing to check as it’s usually covered in paint or lacquer. However, have a look over to see if you can see any cracks in the paintwork, deformations, or strange shapes. Common areas for a frame to break are at the headtube and where the chain stays meet the bottom bracket.
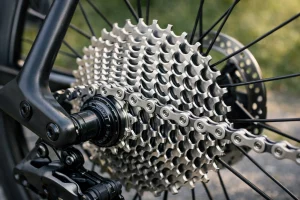
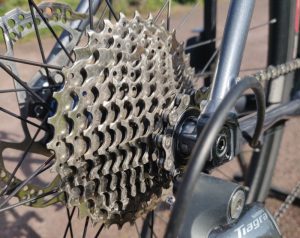 9. Gears – In general, gears shouldn’t need too much looking after, so just make sure you can get the whole range of gears before you ride, and that the rear derailleur and / or its hanger aren’t bent and are in line with the selected cassette sprocket. The main area to pay attention to is the chain. Making sure it’s free of ‘stiff links’ and adequately lubricated will make for a much more pleasant ride.
10. Spokes – Quickly running your hand around the spokes as though you were playing a harp will quickly show if there are any loose or broken spokes. Unless you have the specialist equipment to replace spokes and / or re-true wheels then we suggest leaving that to your local bicycle shop.

11. Seat Post – Make sure the seat post is secure by checking the bolt / quick release is tight. Nobody needs their seat to suddenly drop or twist when they’re on a fast descent or tricky trail. As with the handlebars, if you’re tightening on a carbon frame, make sure you use a torque wrench at the correct setting.
Lastly, while it’s not actually a pre-ride maintenance check, keep your bike clean. It will give you plenty of opportunity to give your bike the once-over and will make spotting problems easier.
If you found this advice helpful, please consider supporting us by buying a tea at www.buymeacoffee.com/cyclinglabs